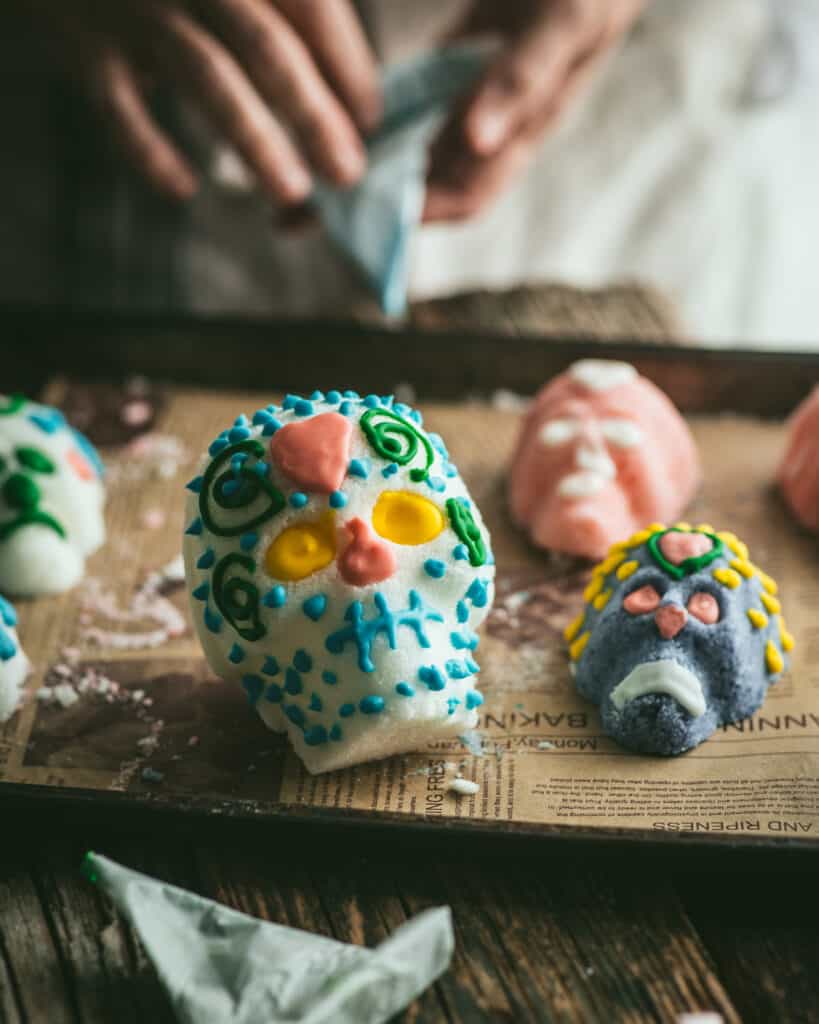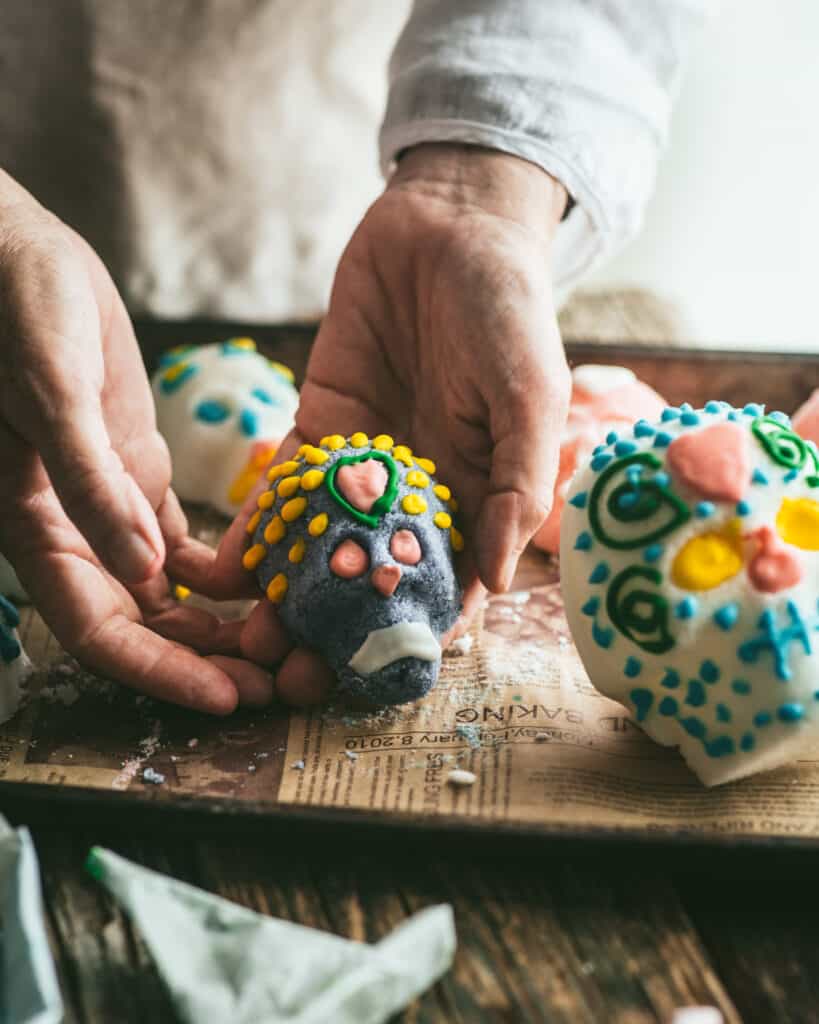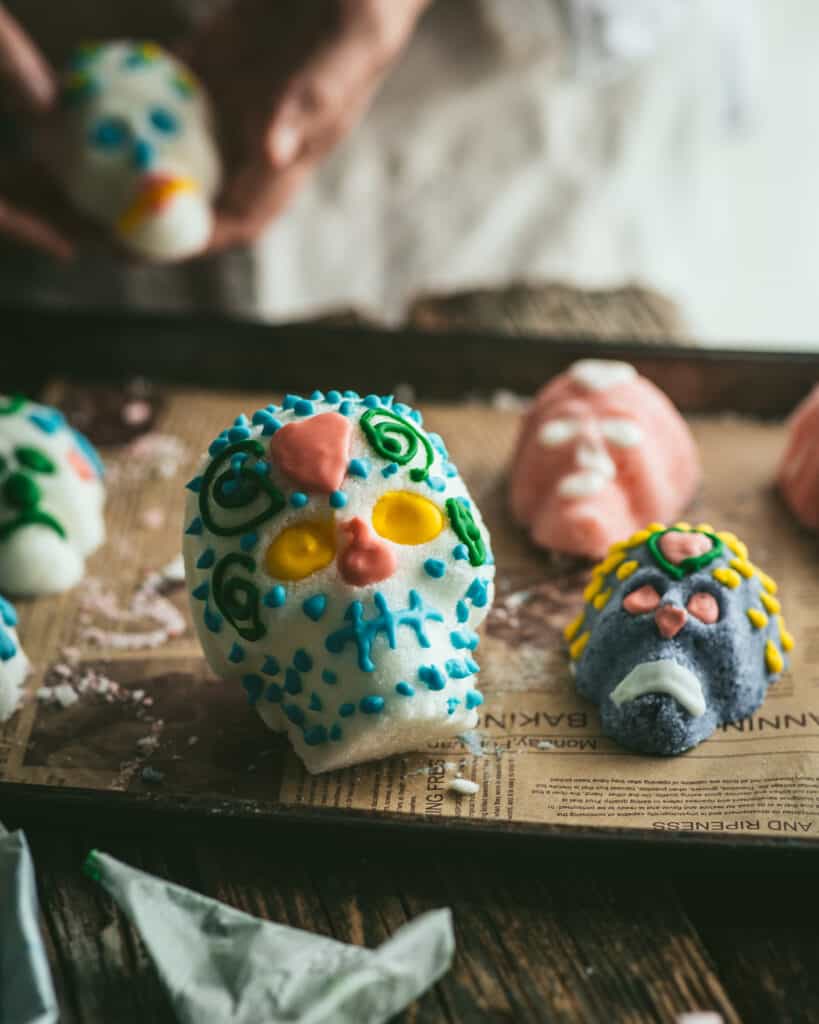
Sugar skulls are a must have for celebrating Day of the Dead on November 1-2. Dia de los Muertos or Day of the Dead, is celebrated throughout Latin America as a day of remembrance for the dearly departed. Based on the Catholic tradition of All Saints Day, Dia de los Muertos has become an over-the-top family gathering that draws spectators to small villages throughout Michoacan, Puebla and Oaxaca.
Sugar Skulls for Day of the Dead
Many suppose the colorful traditions associated with of Day of the Dead developed from the mixture of tribal worship with Christianity. With the arrival of Christianity in the Americas, missionaries found it difficult to convert the tribes’ traditional notion of ancestor worship and death honoring the gods, to life honoring God. Dia de los Muertos evolved as a melding of the Christian belief in eternal life, and the tribal need to honor the dead.

The early Mexica tribes would build a tzompantli, an altar-like display of racks of human skulls to honor their gods. Altars are still a main component in Day of the Dead decoration, usually adorned with flowers, pictures of the deceased, and their favorite foods to tempt the soul to return. Sugar skulls are often purchased by the family, sometimes as a gift or sometimes in honor of the departed soul, and are many times used to decorate the altars (more convenient and less messy than human skulls, I’m sure!)

A Fun Fall Project
Making sugar skulls is a great crafty project, easy and inexpensive. Skull molds are available at craft stores, or online. For a first time project, look for a single sided skull mold that does not require assembly of two skull halves to make a whole skull. Also, avoid making your sugar skulls on rainy or humid days, as most candies and sugar work do not set properly in high humidity.
Here is a list of supplies:
PrintSugar Skulls for Day of the Dead
- Prep Time: 5 minutes
- Total Time: 5 minutes
- Yield: Ten 3“/7.5cm skulls 1x
Ingredients
4 cups granulated sugar (800g)
1 tbsp. plus 1 tsp. meringue powder (13g)
3–4 tsp water (15ml-20ml)
Royal Icing:
2 cups powdered sugar (400g)
1 tbsp. plus 1 tsp. meringue powder (13g)
¼–1/3 cup warm water (60ml-80ml)
Gel colors
Instructions
Line a baking sheet with parchment or waxed paper. Place the granulated sugar in a large mixing bowl. Add the meringue powder and stir to combine. Add the water one teaspoon at a time, mixing with your hands. The sugar should feel like barely damp beach sand, forming a clump with finger indentations when squeezed in your hand.
Pack the prepared sugar into the mold, and then turn over quickly onto the parchment. The formed skull should come out of the mold in once piece. Allow to dry overnight.
Once the sugar skulls have dried, decorate using a piping bag filled with royal icing. Allow the decorated skulls to dry overnight. Sugar skulls will keep indefinitely, provided they are stored in a dry environment.
Note: If the sugar skull crumbles, return the prepared sugar to the bowl, and add one more teaspoon of water. Remix, and then pack again into the skull mold. Unmold and dry overnight.
To make the royal icing, combine the powdered sugar and meringue powder. Add the water one tablespoon and mix at a time until your icing is thick, yet smooth in consistency.
If you would like colored icing, divide the icing into portions, and add the gel color of your choice, and mix well. The icing should be thin enough to pipe using a piping back, but not runny. You can adjust the consistency by either adding a bit of water to make thinner, or a teaspoon of powdered sugar to make thicker.
Decorate the skulls with the royal icing and a piping bag. Allow to dry overnight.
Notes
Makes 1 1/2 cups (360ml) Royal icing

Leave a Reply