Sourdough Starter might seem like a daunting project to make from scratch. If you have a few days and a little patience, you can make your own starter from scratch.
Sourdough Starter is a Living Dough
Back in the day, all breads needed a fermented dough to initiate the rising process of bread. Sourdough Starter is a living dough that functions like the yeast you add from packets. However, taking care of a living dough can be a chore. Instant yeast in a dry packet form was invented for convenience. However, many bakers swear by sourdough starter for rich yeasty flavor and excellent texture. The extra time it takes to make sourdough is well worth it.

Sourdough Starter begins with a sponge which you will make in the first step of this recipe. The sponge takes the longest time to build and grow as it is reproducing new yeast cells. Many times you can mix flour and water and the natural yeast in the air will cause the mixture to ferment and reproduce more yeast. However, natural yeast from the air can be unpredictable and unstable. Adding commercial yeast to the starter will fortify the mixture with hearty reliable yeast.

Save some for next time
Use the portion of starter required in your recipe, but hold back about a cup (240ml) to use in your next batch of bread. This will take the place of your starter sponge that we made in the beginning of this recipe. Store this starter sponge in a clean glass jar in your refrigerator. Feed your starter sponge every 10 days by pouring a smoothly mixed liquid of 1/4 cup flour (32g) to 1/2 cup water (120ml) into your starter sponge jar. Stir with a wooden spoon.
If your starter develops a discolored liquid on top, simply skim off and use the starter normally.
After you work with Sourdough Starter for awhile, you will get the hang of it. And never fear, you can always start over if
PrintSourdough Starter makes the best bread
- Prep Time: 4 days
- Total Time: 96 hours
- Yield: 3-4 cups
Ingredients
Starter Sponge:
1 cup warm water (240ml) – 105°F – 110°F (40°C- 43°C)
½ cup unbleached all-purpose flour (64g)
1/8 tsp. active dry yeast (1g) – not Rapid Rise yeast
1st feed
½ cup warm water (120ml) – 105°F – 110°F (40°C- 43°C)
1 ¼ cups unbleached all-purpose flour (157g)
2nd feed
½ cup warm water (120ml)- 105°F – 110°F (40°C- 43°C)
1 ¼ cups unbleached all-purpose flour (157g)
3rd feed
½ cup warm water (120ml) – 105°F – 110°F (40°C- 43°C)
1 ¼ cups unbleached all-purpose flour (157g)
Instructions
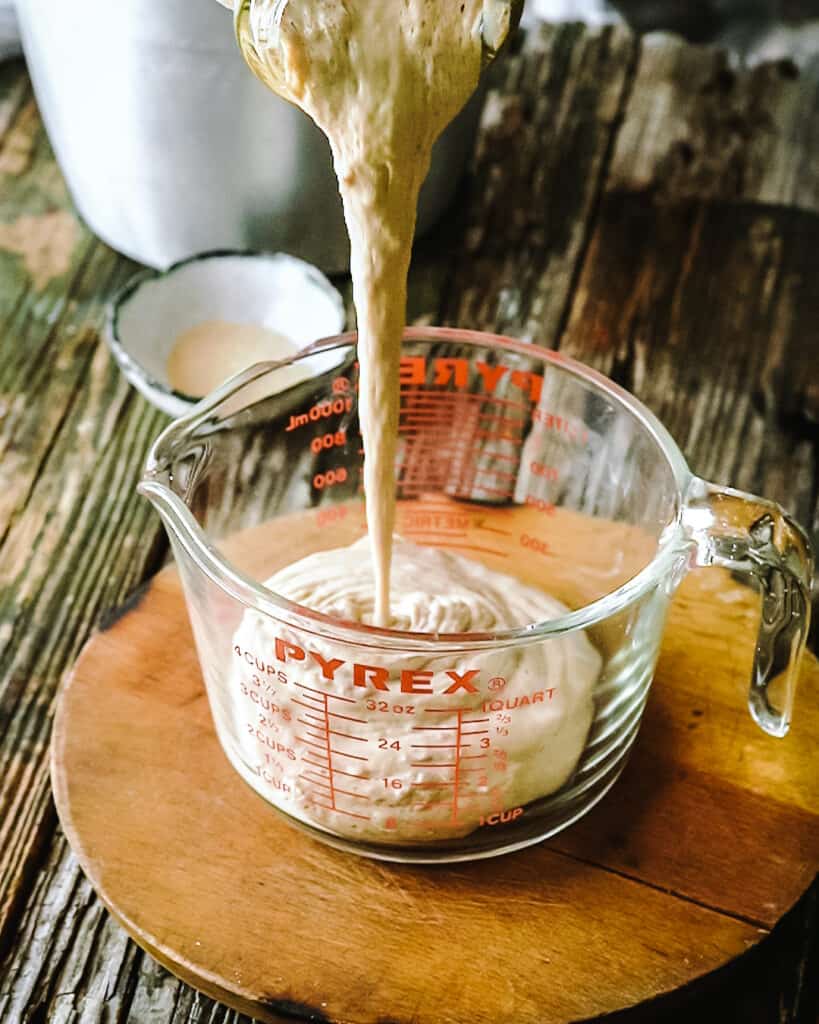
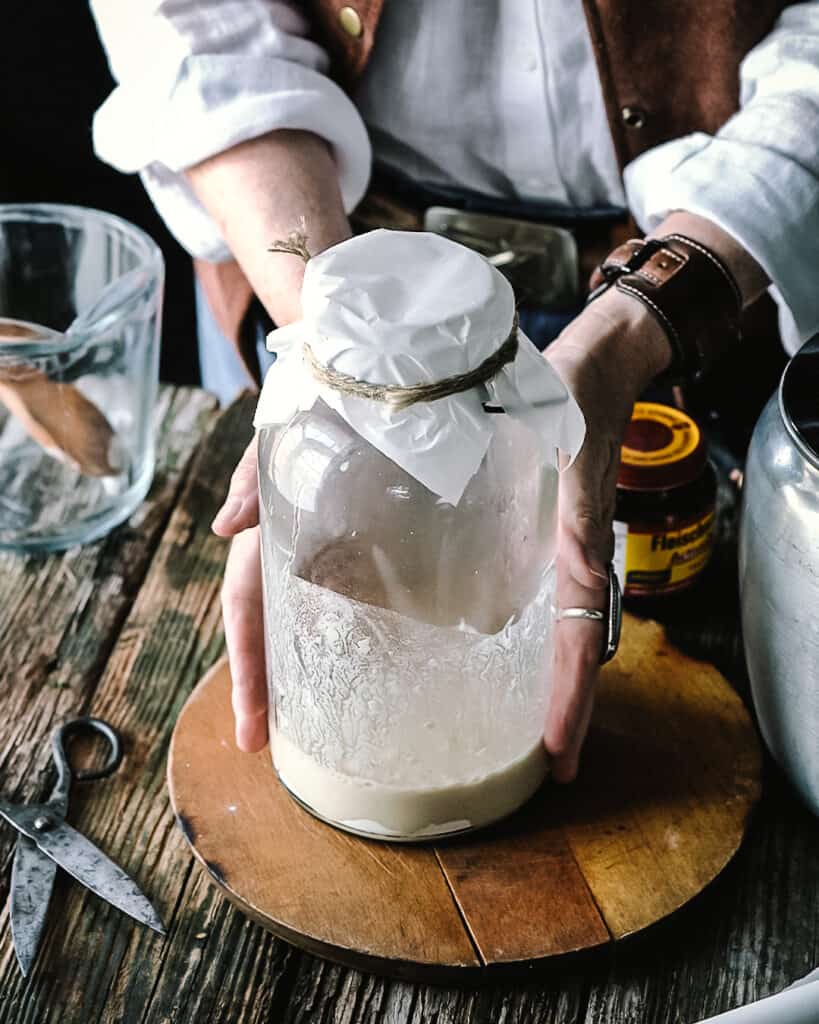
Combine the starter sponge ingredients in a large glass bowl or jar and stir until smooth. Cover with parchment paper or a clean kitchen towel and leave in a warm spot for 24-48 hours. When the mixtures rises, bubbles and falls, you are ready for the next step, the first feed.
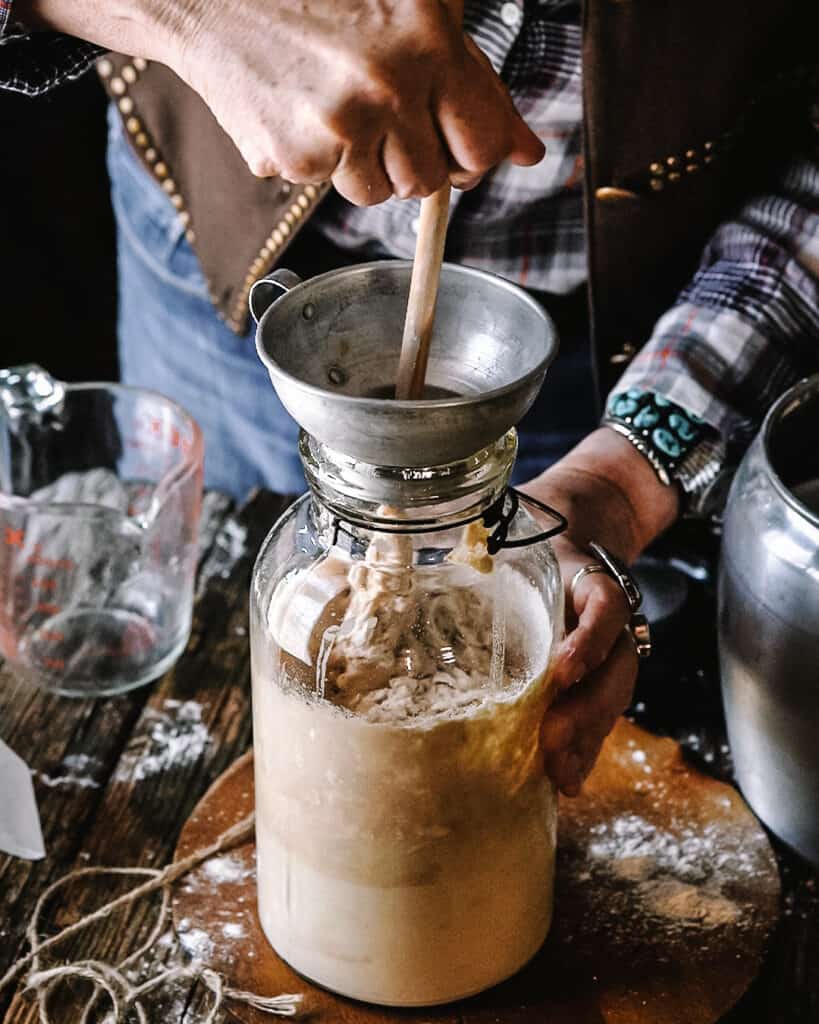
For the first feed, stir in the warm water and flour and allow the mixture to stand for 4-8 hours in a warm place. The mixture should bubble, rise and fall.
For the second feed, stir in the warm water and flour and allow the mixture to stand for 4-8 hours in a warm place. The mixture should bubble, rise and fall.
For the third feed, stir in the warm water and flour and allow the mixture to stand for 4-8 hours in a warm place. The mixture should bubble, rise and fall.
As long as the mixture bubbles and has a yeasty aroma, it is ready to be incorporated into your sourdough recipe.
Notes
Rising and bubbling time for the sourdough will vary depending on the ambient warmth of your kitchen. In the summer, the countertop will be warm enough. In the winter, place the sourdough near a heater. The aimbient temperature should be around 75°F – 85°F (24°c-30°c) for best results.

Leave a Reply